

Quck answer
To replace a concrete septic lid, follow these steps:
1. Gather the necessary tools and materials: a pry bar, safety goggles, gloves, a replacement lid, and a concrete mix.
2. Locate the septic tank and ensure the area is clear of any debris or obstacles.
3. Put on safety goggles and gloves to protect yourself during the process.
4. Use a pry bar to gently lift the old lid off the septic tank. Be cautious and avoid damaging the tank or surrounding area.
5. Clean the area around the septic tank opening to remove any dirt or residue.
6. Place the new lid on top of the tank, ensuring it fits securely and is level with the surrounding ground.
7. Mix the concrete according to the manufacturer’s instructions and pour it around the edges of the lid to secure it in place.
8. Smooth out the concrete and allow it to dry completely before using the septic system again.
Remember to follow any local regulations or guidelines when performing this task, and consider seeking professional help if you are unsure or uncomfortable with the process.
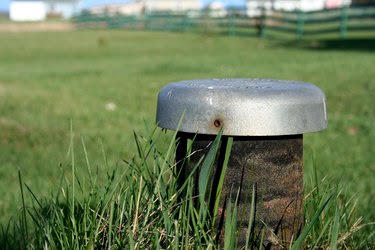
To prevent odors and sewage from seeping into the ground, your septic system utilizes a concrete lid. This lid needs to be removed every five years for septic system maintenance. If cracks or damage develop, concrete septic tank covers may need to be replaced. These can be purchased at a local home improvement store or online. Some septic tanks have risers that make the lid visible above ground, while others are hidden beneath the surface. Before digging to replace a concrete septic lid, it is important to contact utility companies to mark the location of power and water lines to avoid injury or further problems.
Digging Down to the Septic Lid
Using a spade shovel, dig around the concrete septic lid until you reach the lid of the septic tank. Typically, septic tanks are located 12 to 14 inches below the ground surface. To provide ample working space for lid removal, it is advisable to dig a 16-inch wide perimeter around the septic tank lid. It is also recommended to dig 2 inches past the seam where the lid meets the tank. If the lid is on a riser, digging is unnecessary.
Removing the Lid
Place a pry bar between the top of the septic tank and the lid, and have a helper hold the handle on top of the lid. Apply downward pressure on the pry bar to lift one end of the concrete septic tank lid. Instruct your helper to pull the lid handle and slide the lid to the side. For large rectangular lids, repeat the prying-up process for the opposite end of the lid. With assistance from your helpers, lift the lid away from the septic tank. Check the seal on top of the septic tank and replace it if there are any cracks or tears.
Measuring the Lid
Using a tape measure, determine the length and width of the septic tank opening. Based on these measurements, purchase a replacement sewer cover from a retailer such as Home Depot. If there will be a delay in the arrival of the new lid, either place the old lid back over the septic tank or cover the tank opening with a tarp.
Cleaning the Seal
If necessary, scrape off the old seal from the top of the septic tank using a putty knife. The majority of the seal should come off in large pieces. Use a wire brush to remove any remnants of the seal and loose concrete from the top of the tank opening.
Installing the New Lid
While your helper lifts one end of the new septic tank lid, lift the opposite end. Carefully lower the concrete lid over the septic tank, ensuring that the seal is compressed between the tank and the lid. If you had to dig to reach the tank, cover the septic tank with soil.
