

Quck answer
To put ribbon garland on a Christmas tree, follow these steps:
1. Choose a ribbon that complements your tree’s color scheme and theme.
2. Start at the top of the tree and secure one end of the ribbon to the tree branch with a twist tie or ornament hook.
3. Zigzag the ribbon down the tree, loosely draping it over branches and securing it with twist ties or hooks as needed.
4. Continue until you reach the bottom of the tree, adjusting the ribbon’s placement as you go.
5. Fluff and shape the branches to hide any exposed ribbon or twist ties.
6. Add additional ornaments and decorations to complete the tree’s look.
When it comes to decorating your Christmas tree, ribbon garlands can be a great way to add color and texture while also covering up any bare spots. However, it’s important to position the garland correctly to avoid making the tree look overcrowded. Follow these steps for a beautiful and well-decorated tree.
Step 1: Set up the Tree
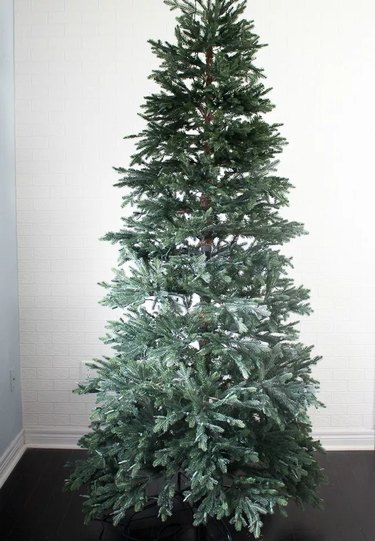
Image Credit: Lucy Akins
If you have an artificial tree, follow the manufacturer’s instructions to assemble it and make sure to fluff each branch to fill any gaps.
Step 2: Add Tree Lights
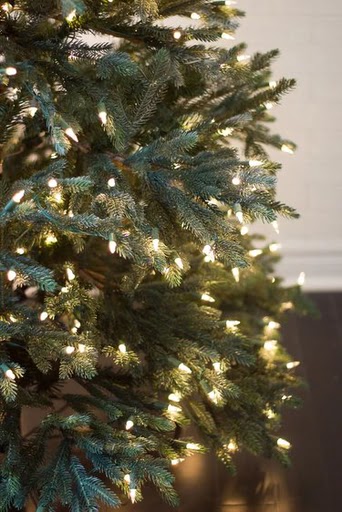
Image Credit: Lucy Akins
If your tree doesn’t come pre-lit, string lights around it.
Step 3: Prepare the Garland

Image Credit: Lucy Akins
Cut the garland into 1-foot pieces and gather any other faux greenery you want to use as fillers to cover gaps in the tree.
Step 4: Fill in the Gaps

Image Credit: Lucy Akins
Insert the garland and greenery to cover any noticeable gaps.
Step 5: Get Your Pipe Cleaners Ready
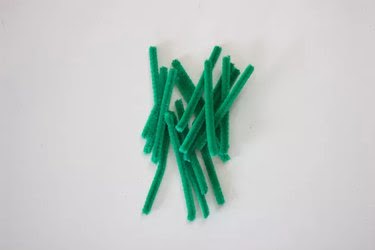
Image Credit: Lucy Akins
Cut several 6-inch pieces of green pipe cleaners.
Step 6: Start the Garland

Image Credit: Lucy Akins
Attach a pipe cleaner to the end of the ribbon, leaving some excess open at the ends to anchor it to the tree.
Step 7: Secure the Garland Ties

Image Credit: Lucy Akins
Tie the pipe cleaners approximately 1 1/2 feet apart along the ribbon.
Step 8: Secure the Top of the Garland
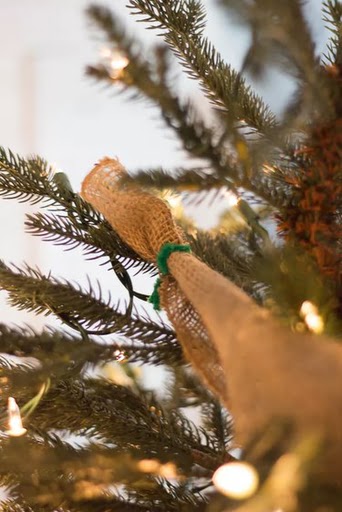
Image Credit: Lucy Akins
Starting at the top of the tree, twist the excess pipe cleaner stem around a branch to secure the end of the ribbon to the back of the tree.
Step 9: Wrap the Garland

Image Credit: Lucy Akins
Bring the ribbon around and tie the next pipe cleaner onto a branch of the tree.
Step 10: Work the Garland Around the Tree
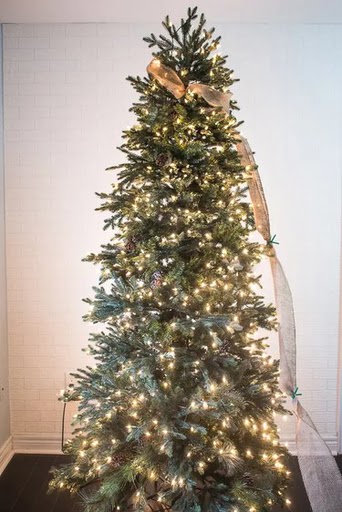
Image Credit: Lucy Akins
Continue going around the tree, tying the third pipe cleaner to the side. Allow the ribbon to hang loosely between each tie instead of pulling it tightly.
Step 11: Finish Wrapping the Tree
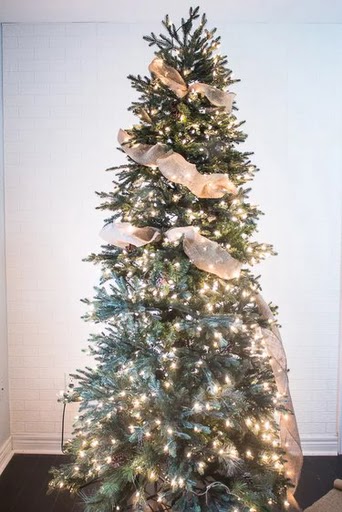
Image Credit: Lucy Akins
Continue wrapping the tree in a zigzag pattern, leaving even spaces between each layer.
Step 12: Extend Your Garland
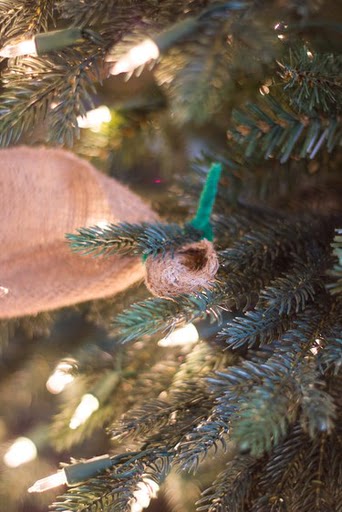
Image Credit: Lucy Akins
If you run out of ribbon, tie a second one to the back of the tree as explained in Step 8.
Step 13: Keep Wrapping
Image Credit: Lucy Akins
Continue wrapping and tying the ribbon, maintaining even spaces between each layer.
Next Step: Go to the Bottom
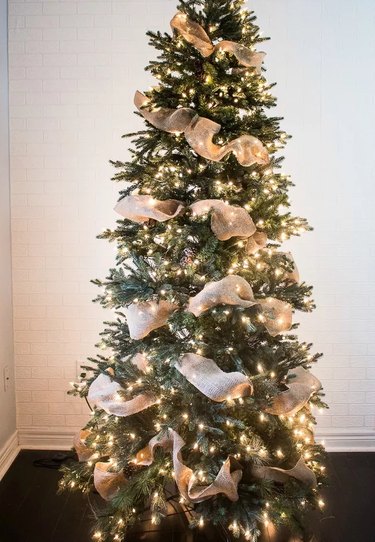
Image Credit:
Lucy Akins
Continue all the way down to the bottom of the tree, loosening the loops of the ribbon slightly towards the bottom and following the triangular shape of the tree.
Step 15: Change the Garland
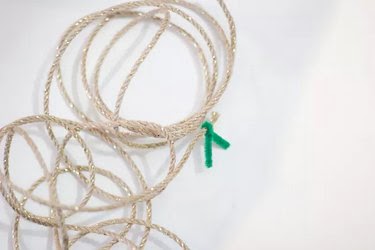
Image Credit:
Lucy Akins
For added interest, use a different ribbon size and shape. Attach a pipe cleaner to the end.
Step 16: Wrap the Tree with the New Garland
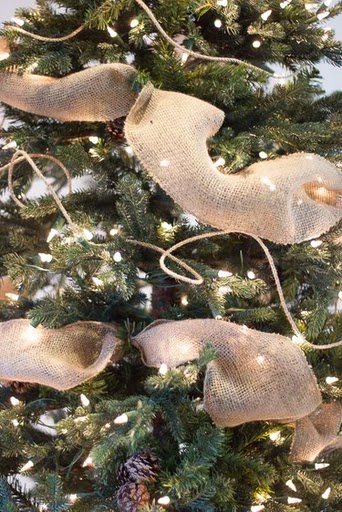
Image Credit:
Lucy Akins
Gently wrap the second type of ribbon around the tree in alternating rows, allowing for natural movement.
Step 17: Organize Your Ornaments
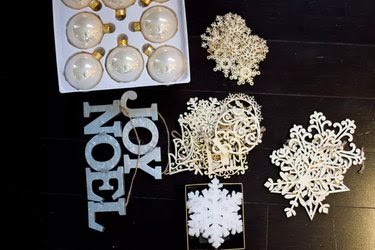
Image Credit:
Lucy Akins
Organize the ornaments from smallest to largest and lightest to heaviest.
Step 18: Decorate the Tree with Ornaments
Start at the top of the tree and place the small/light ornaments first, followed by medium-sized ornaments, and then the largest/heaviest ones as you move down the tree. Add any unique and unusually shaped ornaments last.
Step 19: Create a Tree Topper
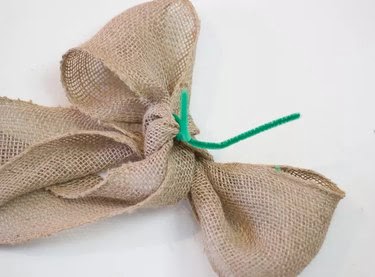
Image Credit:
Lucy Akins
To make a topper, tie a simple bow using the main ribbon and attach a piece of green pipe cleaner to the back of the bow.
Step 20: Position the Tree Topper
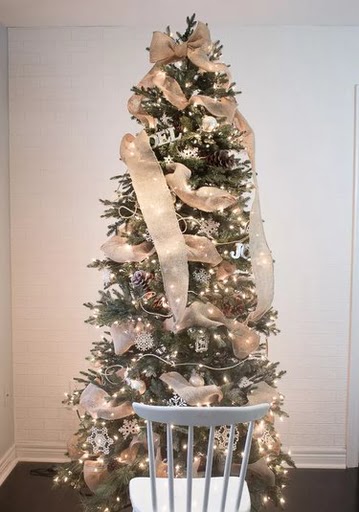
Image Credit:
Lucy Akins
Securely attach the bow to the very top of the tree.
Step 21: Shape the Tree

Image Credit:
Lucy Akins
Tuck any excess ribbon from the bow into the sides of the tree, being careful not to change the shape of the tree.
Step 22: Make Any Necessary Adjustments
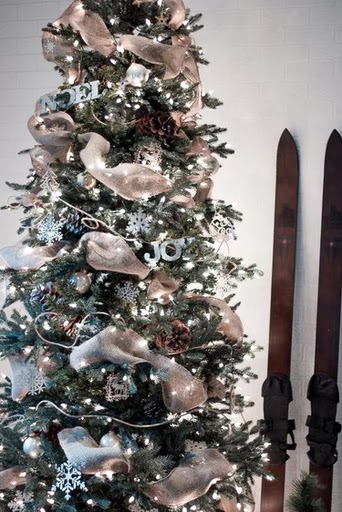
Image Credit:
Lucy Akins
Step back and make any adjustments to the ornaments or ribbon as needed, and enjoy the enchanting glow of your beautifully decorated Christmas tree.
